
Why run your own bitcoin node?
When you use somebody else’s node, you are trusting their copy of the blockchain and telling them which addresses belong to you. Your own node does the opposite: it validates every block against the consensus rules on its own, and your wallet asks it — and only it — about your balance. A Raspberry Pi 4 with 8 GB of RAM is still plenty of hardware for that job. If you want the longer version of why this matters before you start buying parts:
Reasons to run your own Bitcoin node
What’s Umbrel?
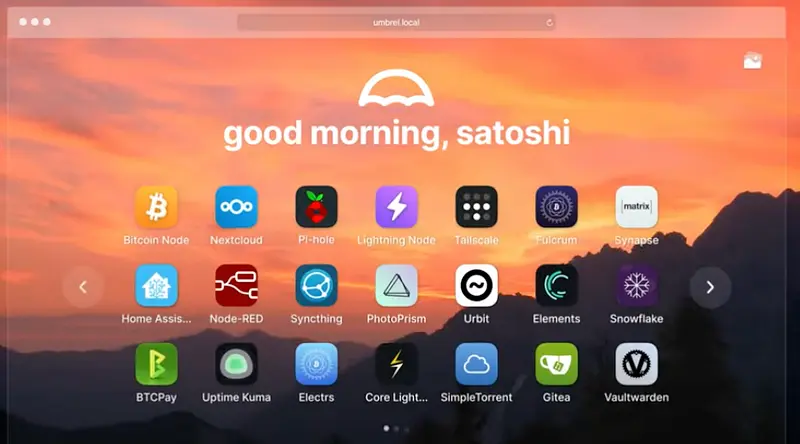
Umbrel is a beautiful personal server OS for self-hosting. You can run a personal server in your home, self-host open source apps like Nextcloud and Bitcoin node, break away from big tech, and take full control of your data for free. Umbrel can be installed on a Raspberry Pi 4 or any Ubuntu/Debian system.
How to set up a Bitcoin Node?
To set up a Bitcoin Node with Umbrel on a Raspberry Pi 4, you need to follow the following steps:
Step 1: Buy the parts
You will need to buy the following parts. You can buy them using the Amazon or AliExpress affiliate links in this article to support us.
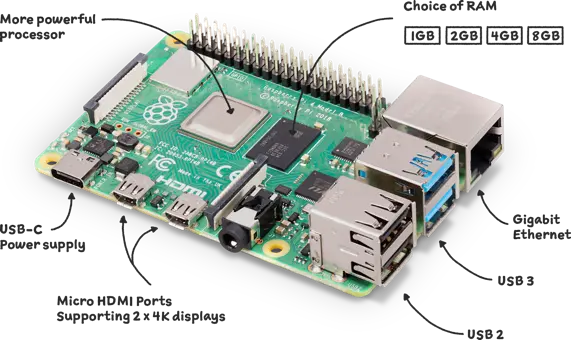
Raspberry Pi 4
Pick 8 GB RAM for maximum performance.
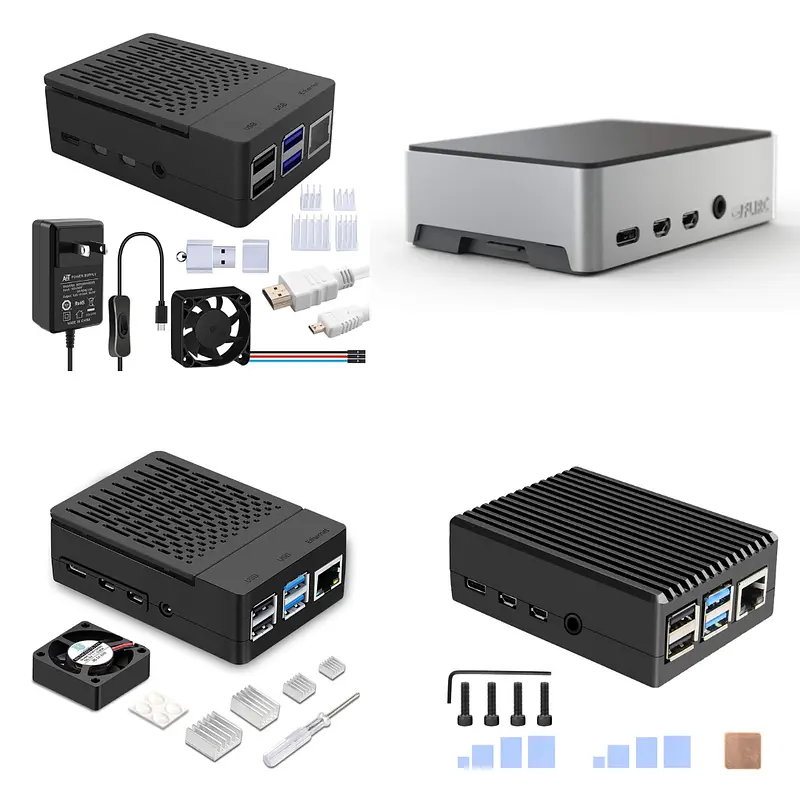
Wrap your new personal server in a nice box.
Some good options on Amazon:
- GeeekPi Case
- Flirc Raspberry Pi 4 Case
- iUniker Raspberry Pi 4 Case
- Geekworm for Raspberry Pi 4 Aluminum Case
Some good options on AliExpress:
- DIYzone Store Aluminum Alloy Case
- Electree Raspberry Pi 4 Model B ABS Case
- Argon One V2 Case
- Raspberry Pi 4 Aluminum Alloy Case
Power Supply
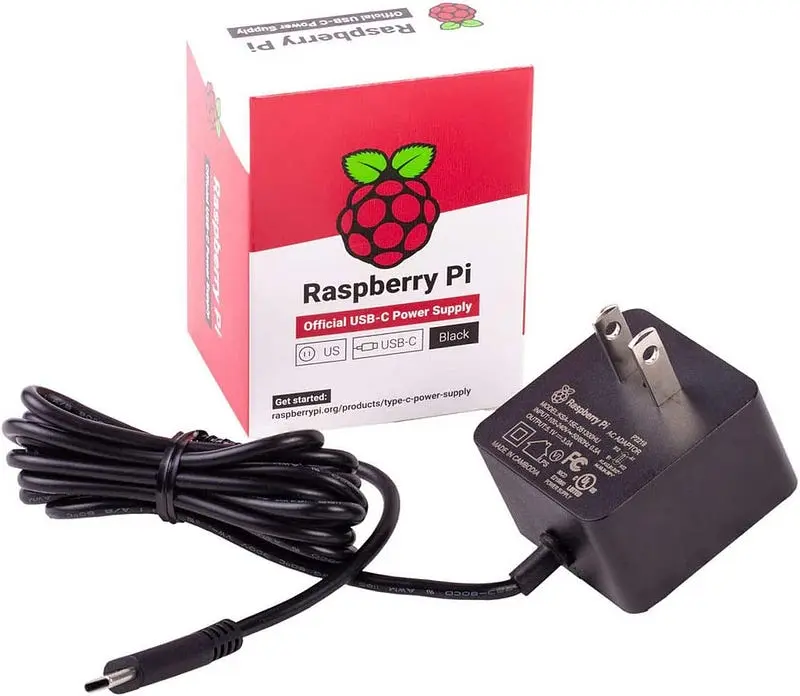
Make sure to use the official Raspberry Pi power supply to prevent any unexpected issues.
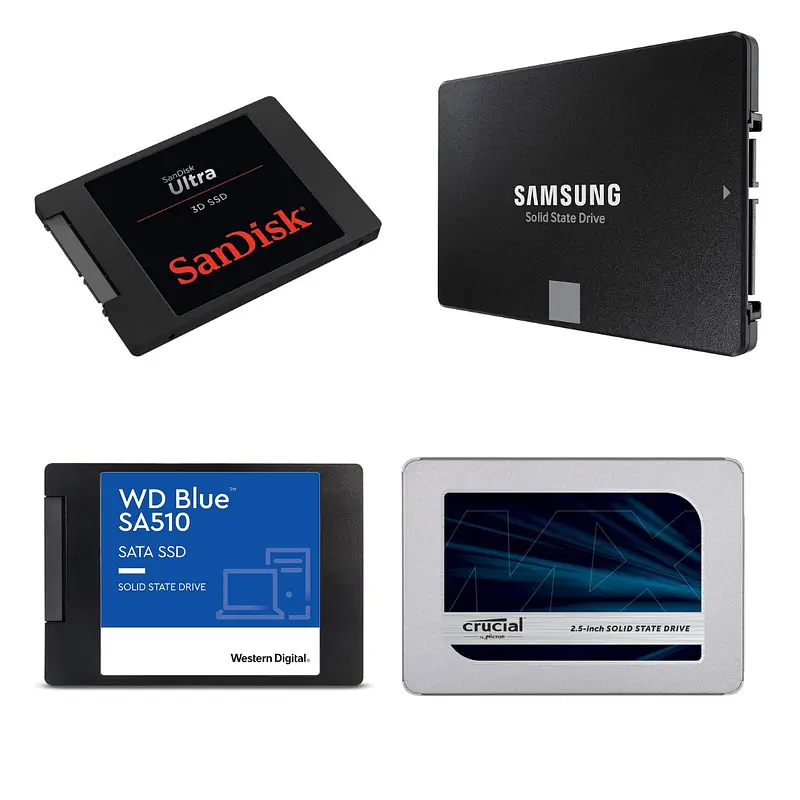
2 TB or more is recommended.
Some good options on Amazon:
Some good options on AliExpress:
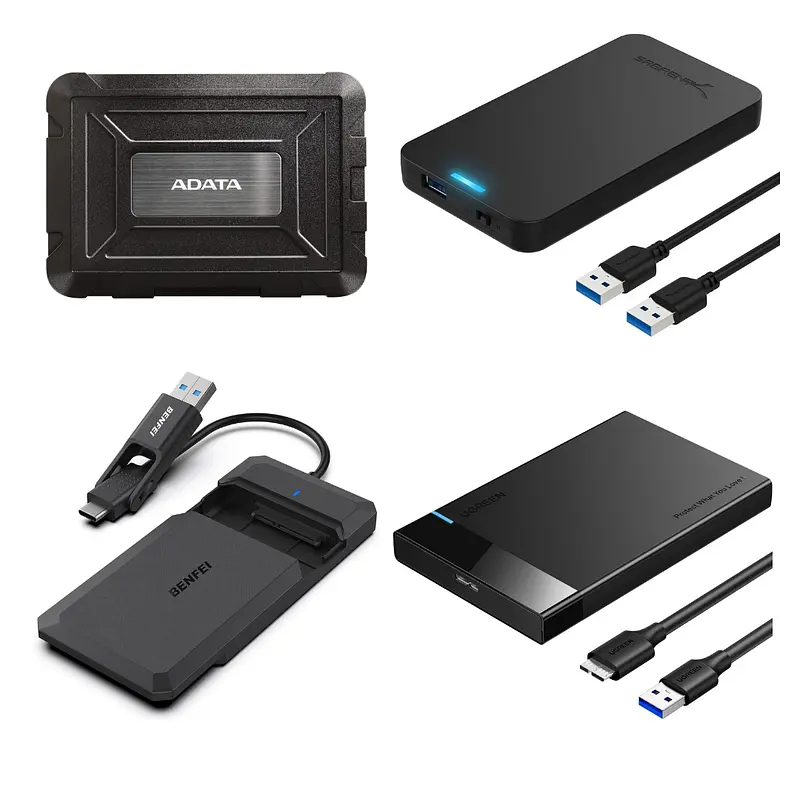
Storage Drive’s Enclosure
To connect the storage drive to the Raspberry Pi via USB.
Some good options on Amazon:
Some good options on AliExpress:
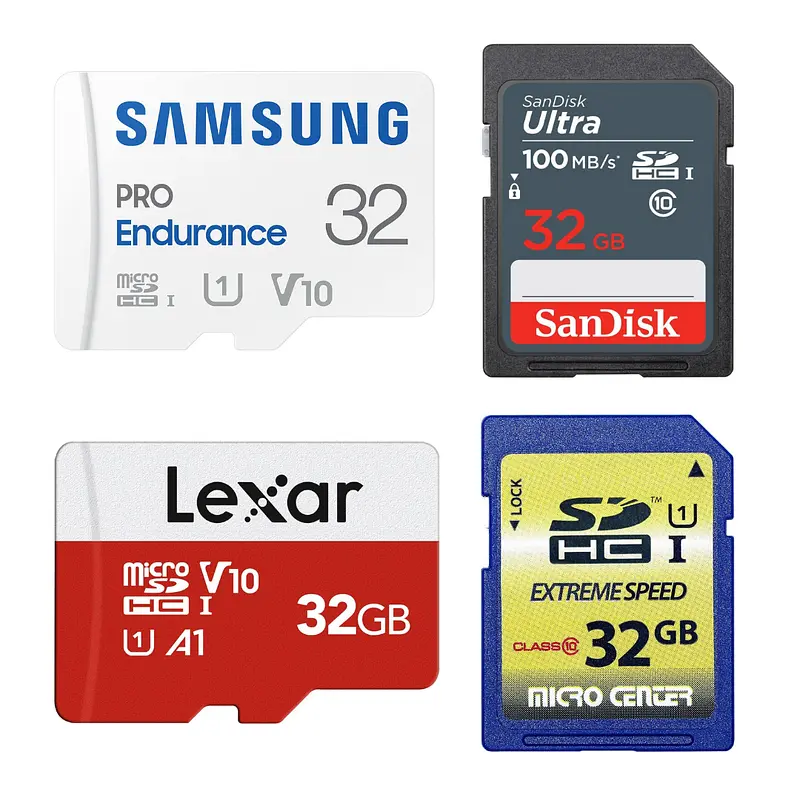
microSD card
The microSD card is only used to run the firmware. All of your apps and data are stored on the storage drive. You will need a 32GB+ microSD.
Some good options on Amazon:
Some good options on AliExpress:
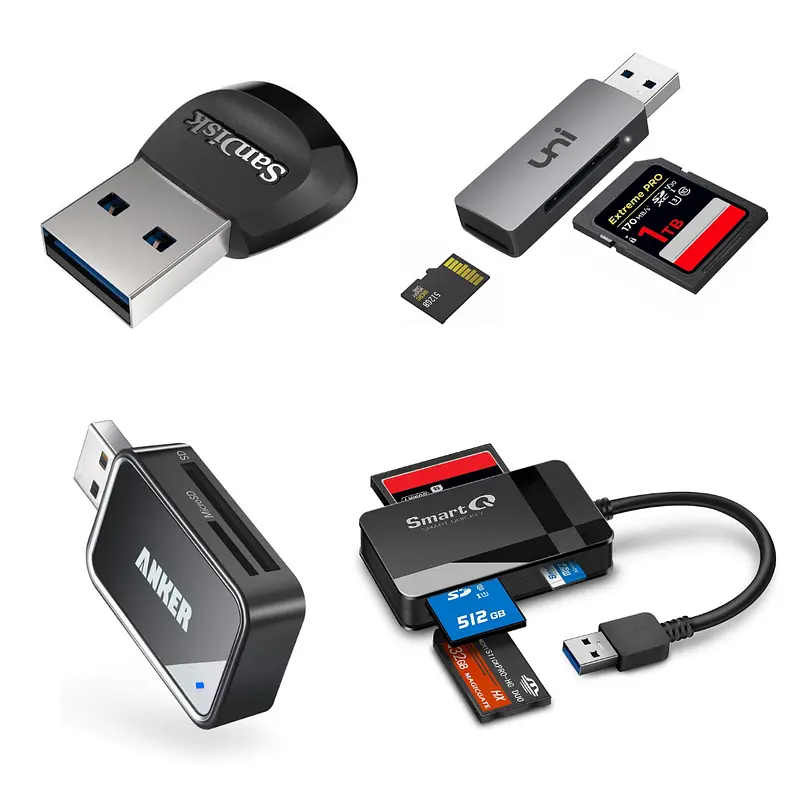
MicroSD Adapter (Optional)
You will need to buy an adapter if your computer doesn’t have a MicroSD slot.
Some good options on Amazon:
Some good options on AliExpress:
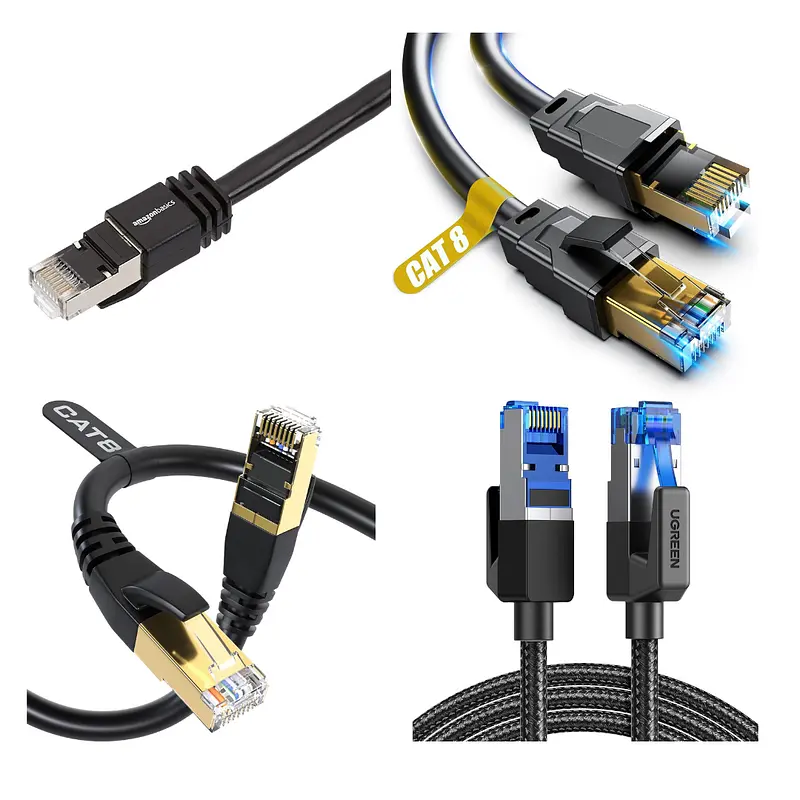
Ethernet Cable(Optional)
You can connect your Raspberry Pi to the internet using Wifi or Ethernet. If you choose Ethernet, you will need an Ethernet cable to connect to your router.
Some good options on Amazon:
- Amazon Basics RJ45 Cat 7
- Vabogu Cat 8 Ethernet Cable
- DbillionDa Cat8 Ethernet Cable
- UGREEN Cat 8 Ethernet Cable
Some good options on AliExpress:
- CYANMI Cat8 Ethernet Cable
- UGREEN CAT8 Ethernet Cable
- Vention Cat8 Ethernet Cable
- D-Sunty Ethernet Cable CAT8
Step 2: Assemble the Node
Assembling the node is pretty easy. You need to:
- Put the Raspberry in its case
- Put the storage drive in its enclosure
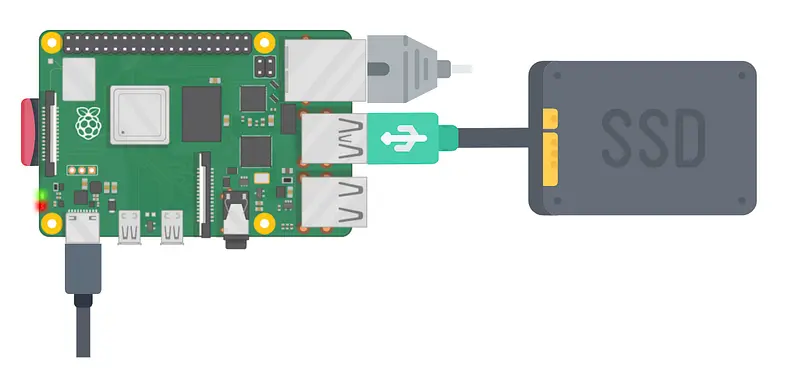
- Connect the storage drive to any of the two USB 3.0 ports (blue colored) on the Raspberry Pi
- Connect the Raspberry to your router using the ethernet cable
- Connect the power supply to the Raspberry. DON’T CONNECT THE POWER SUPPLY TO THE POWER YET
Step 3: Download Umbrel OS
Download Umbrel OS for Raspberry Pi on your computer, using the following link:
https://download.umbrel.com/release/latest/umbrelos-pi4.img.zip
Step 4. Download Balena Etcher
Download and install Balena Etcher on your computer. It is required to flash the Umbrel OS file that you downloaded in the previous step onto the microSD card.
balenaEtcher - Flash OS images to SD cards & USB drives
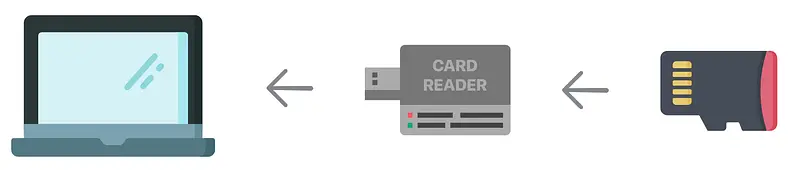
Step 5. Plug the microSD card into your computer
You might need a card reader if your computer doesn’t have one. Here’s a good one on Amazon.
Step 6. Flash Umbrel OS
Open Balena Etcher and flash the downloaded Umbrel OS zip file on the microSD card. You need to follow these steps:
- Pick the
Flash from fileoption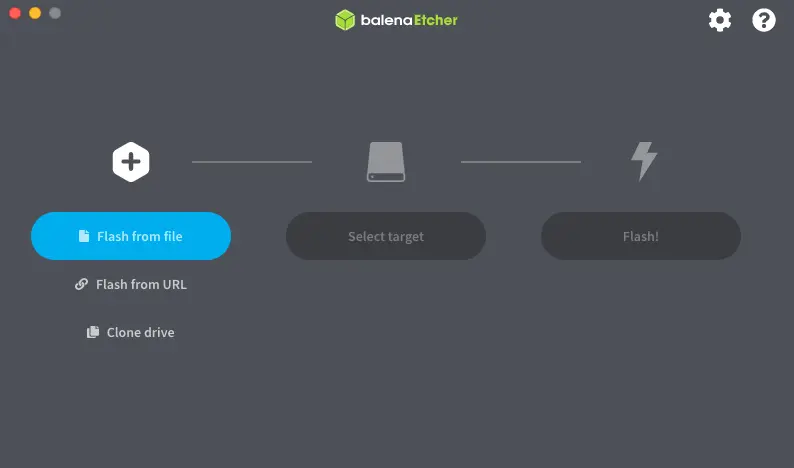
- Pick the
Select Targetoption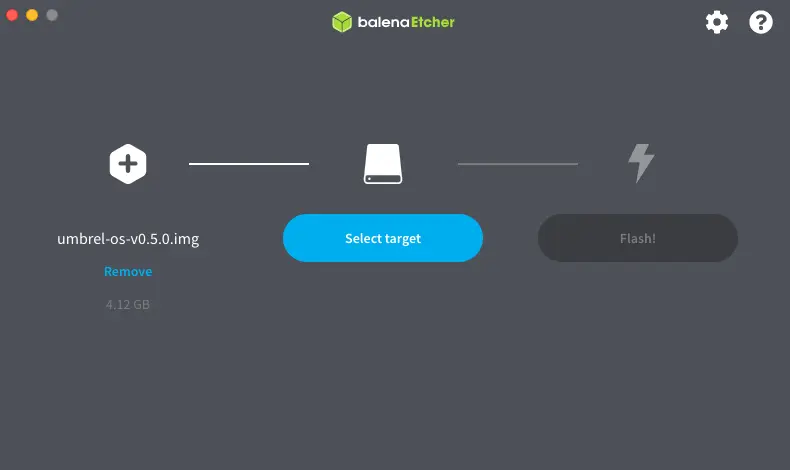
- Check the SD Card and click on
Select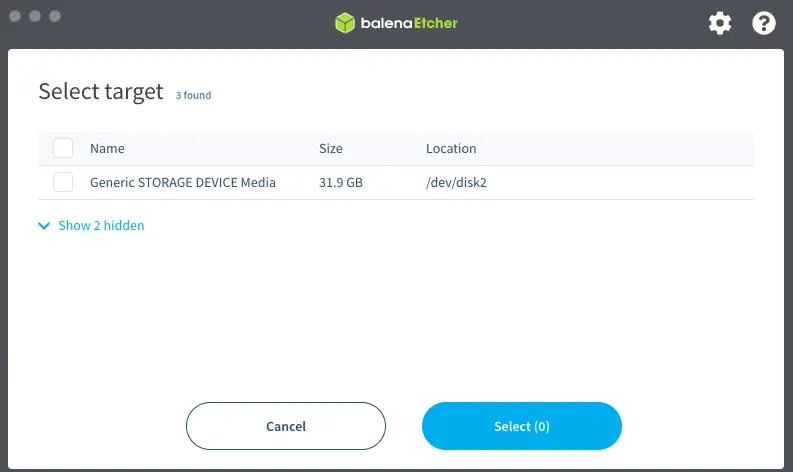
- Click on the
Flashoption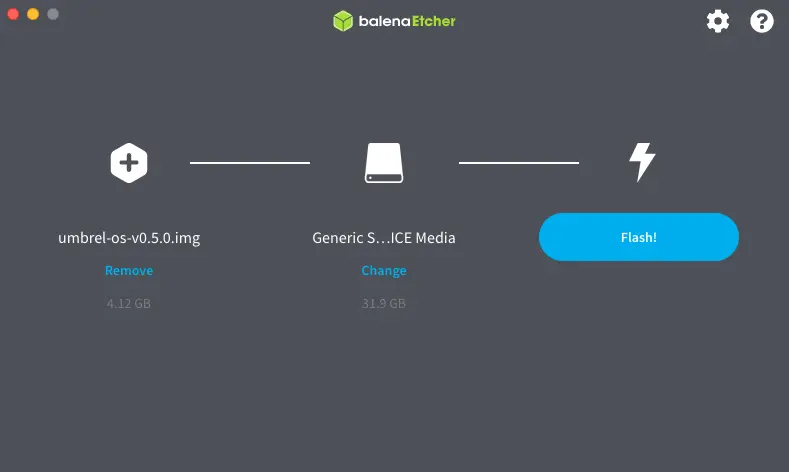
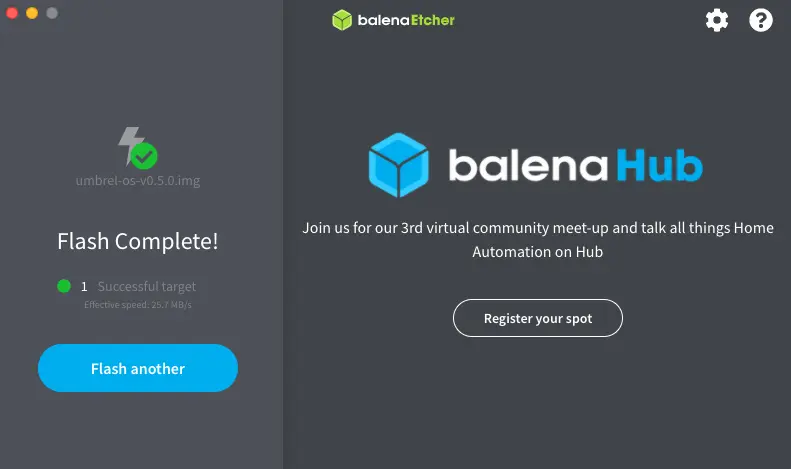
- When finished, you will see a
Flash Completelegend.
Step 7. Insert the microSD card into the Raspberry
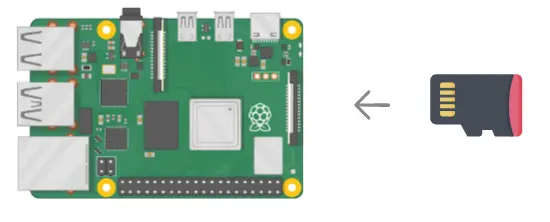
After the flash is successful, remove the microSD card from your computer and insert it into the Raspberry Pi.
Step 8. Power up
Power up the Raspberry Pi to turn it on.
Any existing data on the SSD will automatically be deleted when you turn on the Raspberry Pi.
Step 9. Wait until Umbrel is accesible
After 5 minutes, your Umbrel will be accessible at http://umbrel.local on any device that’s connected to the same network as the Raspberry Pi. If you can’t access your Umbrel, you can use Angry IP Scanner to find the IP address of your Umbrel and type that in the browser instead of umbrel.local. If you’re using Windows, try accessing http://umbrel in the browser. And if you’re using a VPN, try turning it off.
Step 10. Download the Bitcoin Node app
Go to the Umbrel App Store and download the Bitcoin Node app.

This app will transform your Umbrel into a Bitcoin node. It will automatically start to download the blockchain. Take into account that this will take several days.
Step 11. Download the mempool app
Go to the Umbrel App Store and download the mempool app.
Mempool is your own copy of https://mempool.space/, served by your node. Fee estimates, transaction lookups and address searches are answered locally, so nobody on the other end can link the addresses you look up to your IP.
More options for Raspberry Pi 4
Options for Raspberry Pi 5
Visit our Website
Umbrel is not the only option for a Raspberry Pi 4. On our Bitcoin Nodes Comparison TheBitcoinHole.com website you can check, side by side, which distributions still support the hardware you already own, which apps they ship and how they handle updates.
Compare the top node platforms
Running Umbrel and wondering how it stacks up against the other leading plug-and-play node OS? We put both head to head on hardware, apps, firmware and price.
Umbrel vs Start9: which Bitcoin node wins?
Skip the build next time
If the flashing and the wiring were more work than you signed up for, Umbrel sells the same setup pre-assembled: Umbrel Home and Umbrel Pro arrive with umbrelOS already installed.
Support Us
There are different ways to support our work:
 Support Us on Ko-fi