
Why build your own node?
Buying a plug-and-play appliance is the fastest way to run a Bitcoin node, but building your own is cheaper, teaches you what each component actually does, and leaves you with hardware you can reuse or repair. This article is about the physical side of the project: which parts to buy, how they fit together, and what to do once the box is assembled. The reasons to run a node at all — verifying your own transactions, keeping your addresses private, enforcing the consensus rules you agreed to — are covered here:
Reasons to run your own Bitcoin node
What’s a Raspberry Pi?
A Raspberry Pi is a small, affordable, and versatile computer that is widely used for a variety of DIY and educational projects. Due to its low power consumption, compact size, and flexibility, it’s popular for running lightweight servers, media centers, smart home devices, and even Bitcoin nodes.
Step 1: Buy the parts
You will need to buy the following parts. You can buy them using the Amazon or AliExpress affiliate links in this article to support us.
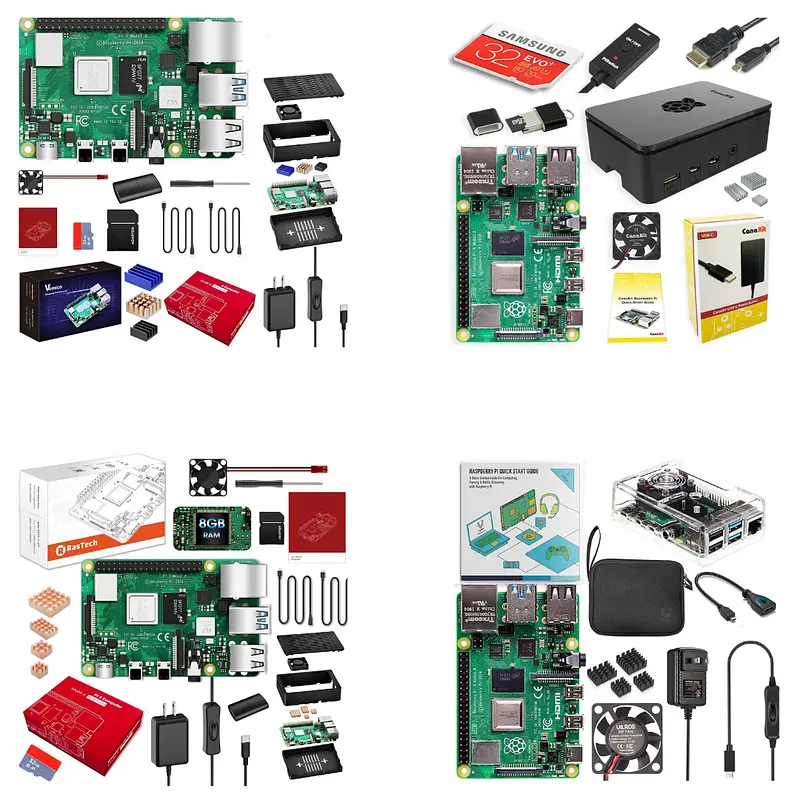
Starter Kit: Raspberry Pi 4 + Case + Power Adapter
Pick a Raspberry Pi 4 with 8 GB RAM for maximum performance.
Some good options on Amazon:
Some good options on AliExpress:
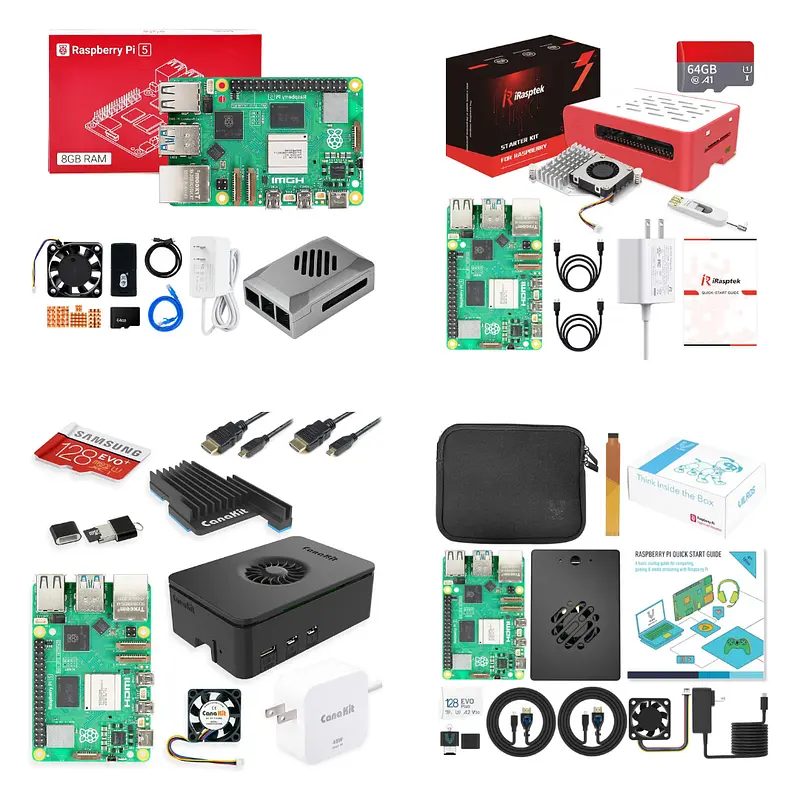
Starter Kit: Raspberry Pi 5 + Case + Power Adapter
Pick a Raspberry Pi 5 with 8 GB RAM for maximum performance. It syncs the blockchain noticeably faster than the Pi 4, so it is the better choice if you are buying from scratch.
Some good options on Amazon:
Some good options on AliExpress:
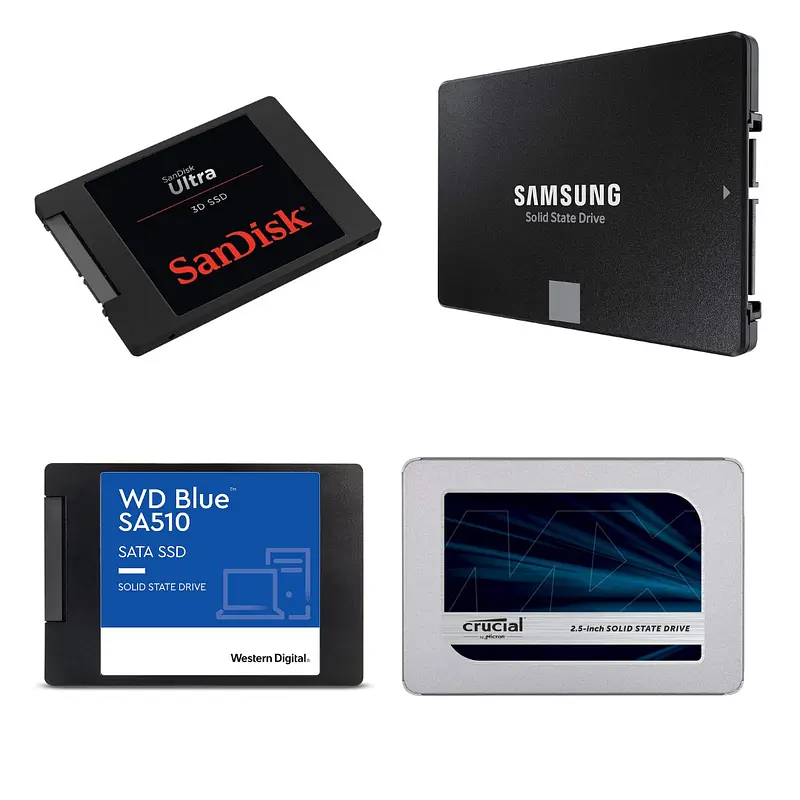
Storage Drive
2 TB or more is recommended.
Some good options on Amazon:
Some good options on AliExpress:
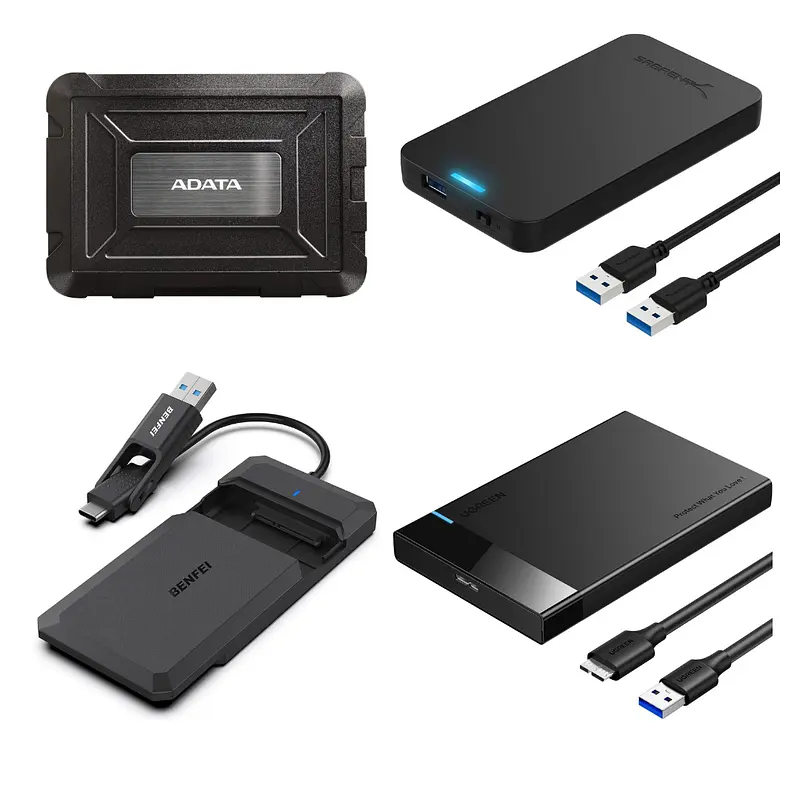
Storage Drive’s Enclosure
To connect the storage drive to the Raspberry Pi via USB.
Some good options on Amazon:
Some good options on AliExpress:
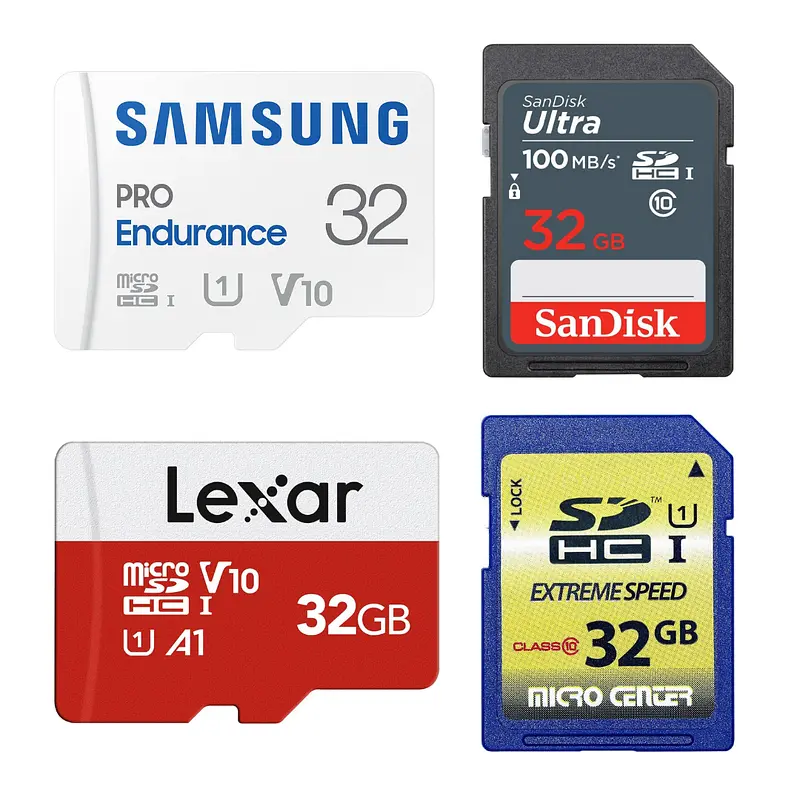
microSD card
The microSD card is only used to run the firmware. All of your apps and data are stored on the storage drive. You will need a 32GB+ microSD.
Some good options on Amazon:
Some good options on AliExpress:
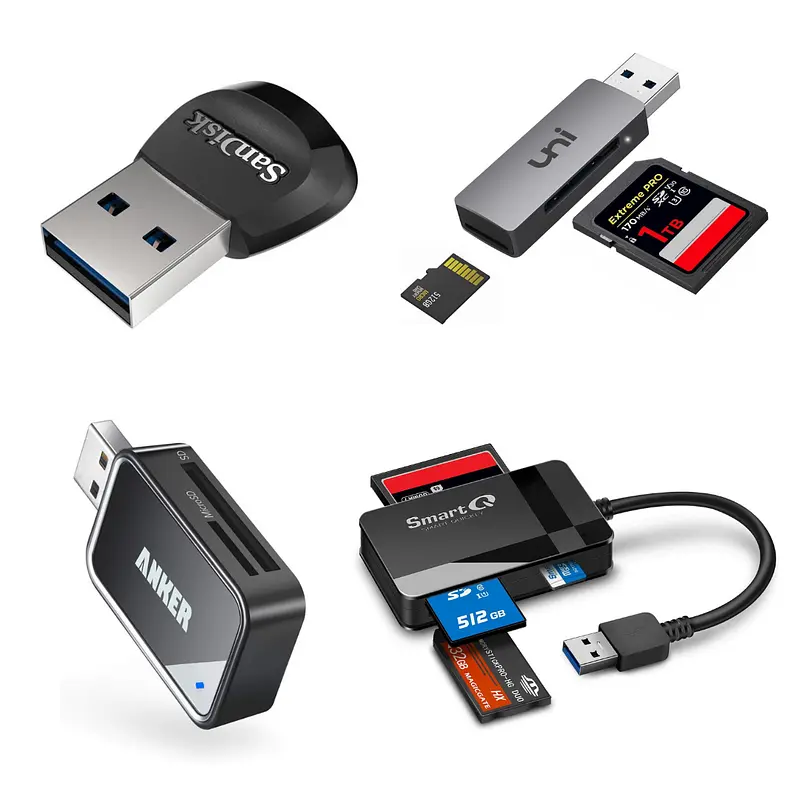
MicroSD Adapter (Optional)
You will need to buy an adapter if your computer doesn’t have a MicroSD slot.
Some good options on Amazon:
Some good options on AliExpress:
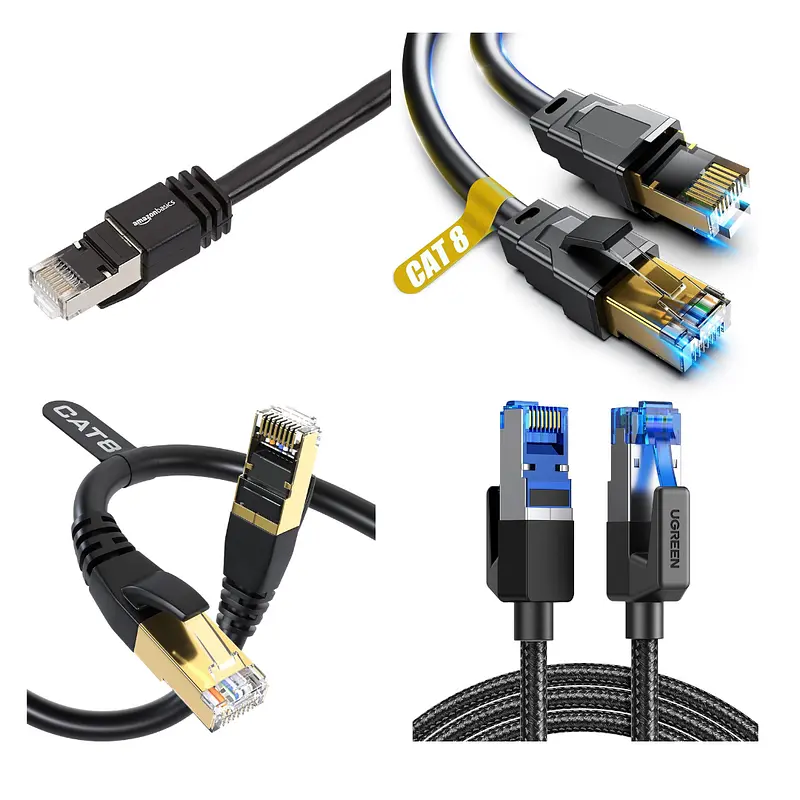
Ethernet Cable(Optional)
You can connect your Raspberry Pi to the internet using Wifi or Ethernet. If you choose Ethernet, you will need an Ethernet cable to connect to your router.
Some good options on Amazon:
- Amazon Basics RJ45 Cat 7
- Vabogu Cat 8 Ethernet Cable
- DbillionDa Cat8 Ethernet Cable
- UGREEN Cat 8 Ethernet Cable
Some good options on AliExpress:
- CYANMI Cat8 Ethernet Cable
- UGREEN CAT8 Ethernet Cable
- Vention Cat8 Ethernet Cable
- D-Sunty Ethernet Cable CAT8
Step 2: Assemble the Node
Assembling the node is pretty easy. You need to:
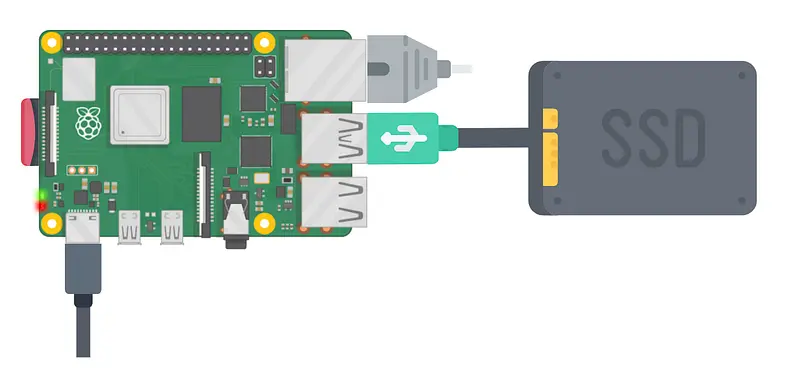
- Put the Raspberry in its case
- Put the storage drive in its enclosure
- Connect the storage drive to one of the USB 3.0 ports. On the Raspberry Pi 4 they are the two blue ones; on the Raspberry Pi 5 they are the pair closest to the Ethernet connector, marked with the
SSsymbol - Connect the Raspberry to your router using the ethernet cable
- Connect the power supply to the Raspberry. DON’T CONNECT THE POWER SUPPLY TO THE POWER YET
Step 3: Download the Firmware
Download the Bitcoin node firmware from the official website:
Step 4. Download Balena Etcher
Download and install Balena Etcher on your computer. It is required to flash the firmware file that you downloaded in the previous step onto the microSD card.
balenaEtcher - Flash OS images to SD cards & USB drives
Step 5. Plug the microSD card into your computer
You might need a card reader if your computer doesn’t have one. Here’s a good one on Amazon.
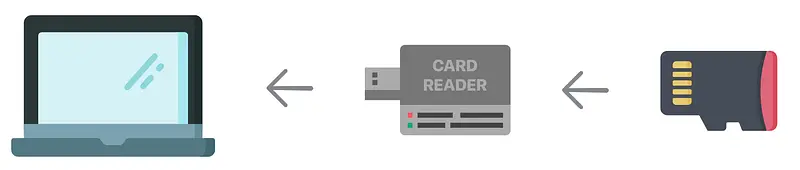
Step 6. Flash the Firmware
Open Balena Etcher and flash the downloaded firmware file on the microSD card. You need to follow these steps:
- Pick the
Flash from fileoption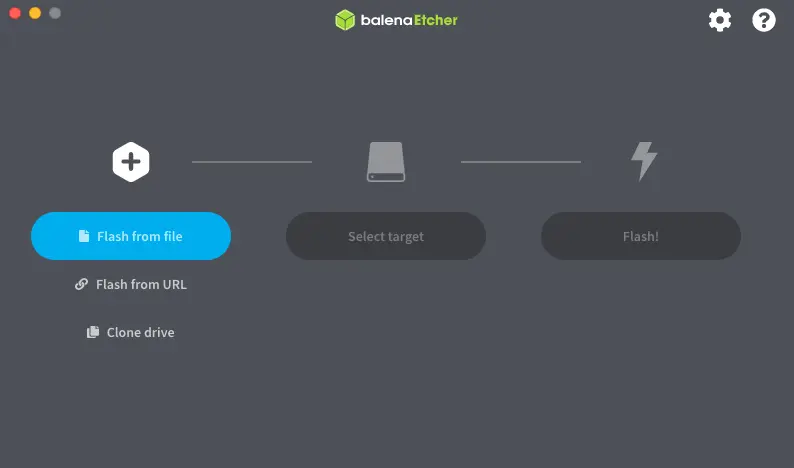
- Pick the
Select Targetoption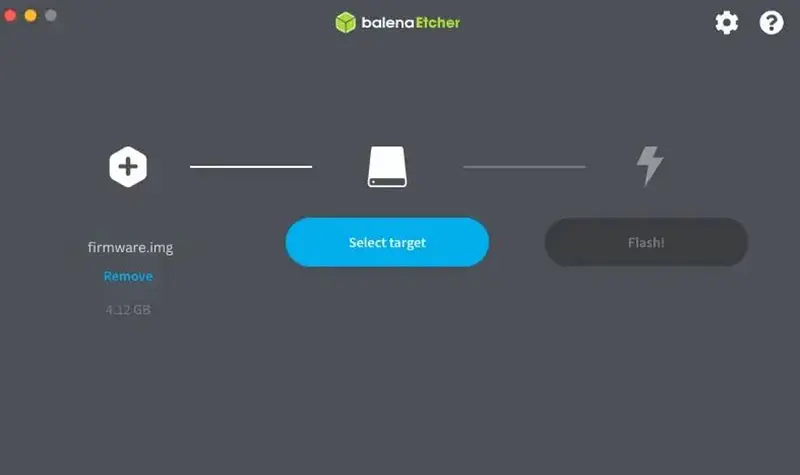
- Check the SD Card and click on
Select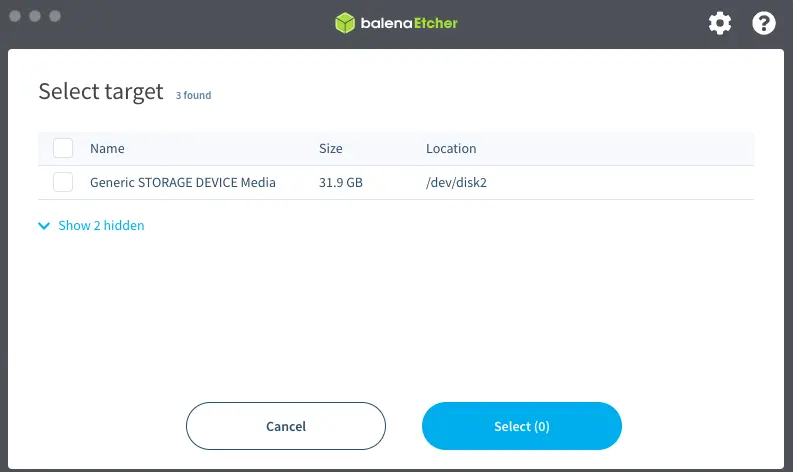
- Click on the
Flashoption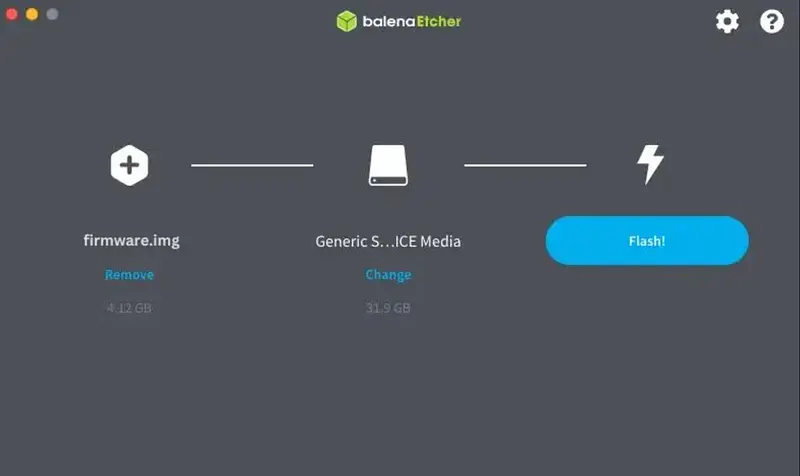
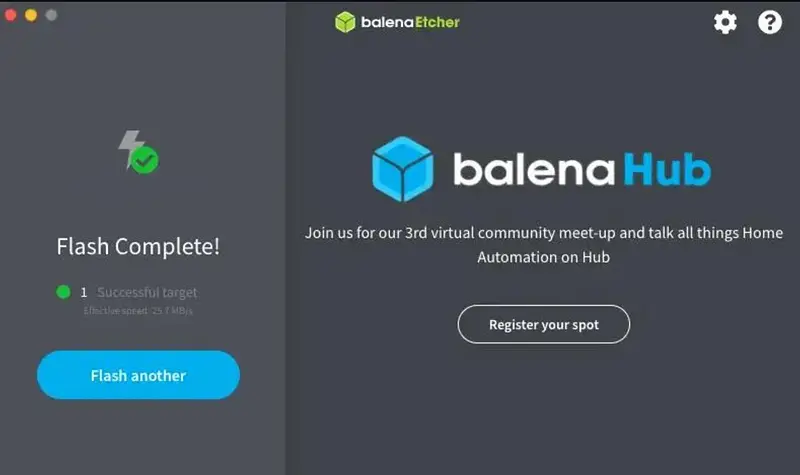
- When finished, you will see a
Flash Completelegend.
Step 7. Insert the microSD card into the Raspberry
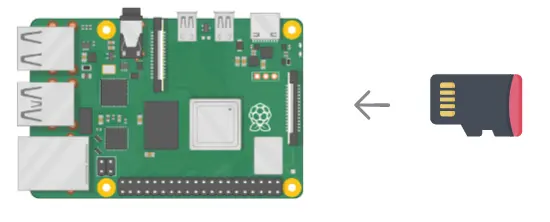
After the flash is successful, remove the microSD card from your computer and insert it into the Raspberry Pi.
Step 8. Power up
Power up the Raspberry Pi to turn it on.
Any existing data on the SSD will automatically be deleted when you turn on the Raspberry Pi.
Step 9. Wait until the node is accesible
After 5 minutes, your node will be accessible at a local url (http://umbrel.local, http://start.local, http://mynode.local, http://citadel.local , etc) on any device that’s connected to the same network as the Raspberry Pi. If you can’t access your Umbrel, you can use Angry IP Scanner to find the IP address and type that in the browser.
Visit our Website
Before you order anything, it is worth checking which distributions still support the board you are about to buy and which apps each one ships. Our Bitcoin Nodes Comparison TheBitcoinHole.com website compares supported hardware, bundled apps, Lightning implementations and licensing for every node we track.
Compare the top node platforms
Deciding which node software to run on your build? The two leading plug-and-play options are Umbrel and Start9. See how they compare on apps, firmware and hardware.
Umbrel vs Start9: which Bitcoin node wins?
Support Us
There are different ways to support our work:
 Support Us on Ko-fi